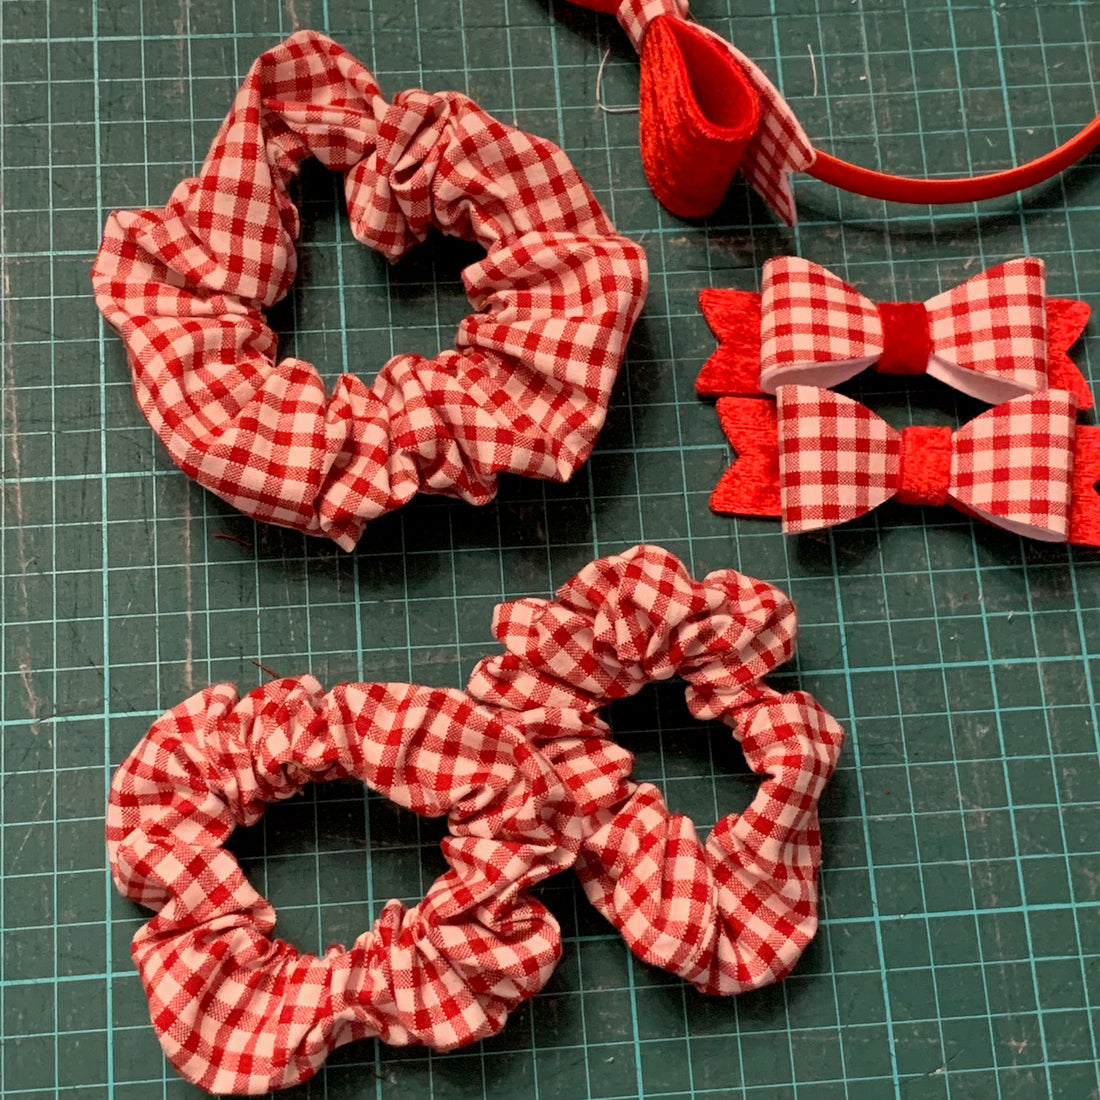
Scrunchie Tutorial
Share

Scrunchies - still proving popular!
They tend to be not as harsh on your hair, fun funky and not as easy to loose.
Quick to make too.
This is the way I make my scrunchies and they are going strong after a few years!
You will need:

Your usual sewing supplies.
A gingham FQ in your chosen colour. (Will make 5 scrunchies)
20cm length of elastic per scrunchie.
Co-ordinating thread.
To make:
Cut your gingham into a strip 10cm x 55cm. (4 x 22 inches approximately). Sew the short ends together using a 0.5cm seam allowance.
You are going to fold the good sides together with the OTHER side rolled up and placed in the middle. (I wont be keeping the clip there - they are just in place to make the photo clearer for you).

I always pair the seams together and sew down the side. Pull the loose rolled up middle fabric through so you can keep sewing along the side. Keep doing this until you are nearly back to the start.


You may need to poke your finger inside to ensure the fabric is still curled up in the middle - if not push it back into place. If it catches in the seam this method wont work as you wont be able to pull them through. I leave just enough gap at the end to get the elastic in - about 2 cm.

Put a safety pin through one end of your elastic and thread through. Sew the ends together using a zig-zag stich. I do this in two directions so they wont come undone.

Pull elastic inside by stretching the scrunchie out and then hand sew the turning hole closed using a ladder stitch.


And that's it!
If your wanting a smaller scrunchie for younger kids or wanting two for pony tails (or in Amelia's case some for her dolls!!) then use 7.5cm x 40cm (3 x 16 inches) with a 16.5cm of elastic (6.5 inches). The smaller ones are slightly more fiddly until you get used to doing them this way.
Happy Sewing - feel free to show off your Back to School makes in our Facebook group.
Dawn x
